
In gardening, innovation meets sustainability, so building pallets for herb garden is the way to go. The wooden structures solve space issues, among other shortcomings in herb cultivation. Pallets are no longer overlooked as before. After their usage in shipping and logistics, they often find their way to new purposes, more so in the hands of eco-conscious gardeners.
Discover the right way to create pallets for herb garden. The steps include selecting the right pallets, treating them for pests, and building. This article will dig more into the art and science of creating safe pallets for your herb garden. Unlocking this potential for sustainable and space-efficient herb cultivation.
Step-By-Step Guide For Building Pallets For Herb Garden
Here are the steps for creating the perfect pallets for your herb garden.
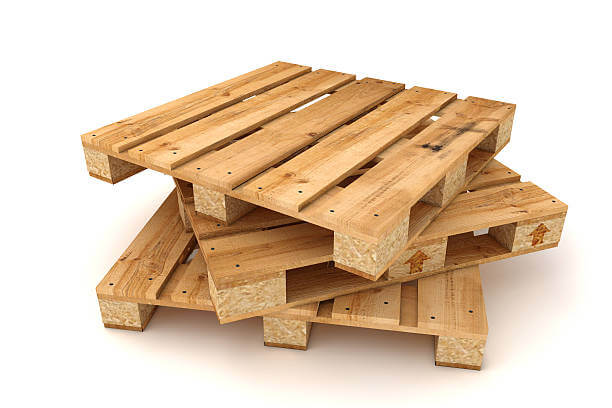
1. Select The Right Pallets:
Not all pallets are safe for gardening. The perfect ones for this job should have an HT mark/stamp. This mark assures you they are heat-treated and cannot transfer pests and diseases to your herb garden. Besides the heat treatment, the pallets should be in good condition. Check if the wood is sturdy enough with intact slats. It should not have splints, pests, and stains.
2. Prepare The Pallets:
Though the pallets have the HT stamp, that doesn’t mean they are clean. You have to clean them and sand the surface to ensure that they do not splinter in the future. Remove any mud and dirt on the surface before filing.
3. Position The Pallets:
When you decide on pallets for herb garden, you already know if it is a vertical or horizontal garden. Secure the pallets in the right location depending on the type of garden. The place should receive adequate sunlight for the herbs’ growth. Remember that providing artificial light to your garden can be quite a cost.
4. Adding Landscape Fabric
The landscape fabric is essential in pallets for herb garden setup. The material helps to prevent weed growth in the soil. Also, it helps to keep soil moisture while at the same time preventing soil erosion. Choose a permeable fabric for the garden and attach landscape fabric to the back and sides of the pallet. This technique creates pockets for soil, which keeps your herbs neat in the pallets.
5. Fill The Pallets With Soil
The fifth step is to fill all the sections with soul. The soil should be nutrient-rich to sustain your herbs throughout the growing period. When filling the soil, ensure proper drainage by drilling additional holes. Also, the best type of soil for pallets is loam. When you mix it with organic manure, it enhances the perfect drainage. Avoid clay soil at all costs.
6. Choosing Your Herbs
Your pallets for the herb garden are ready. I believe you already know the types of herbs perfect in your region. For instance, if you live in Colorado and want to grow garlic, you need to know when. Master your region’s climatic and geographical features for smooth herb growing. Select herbs that thrive in your climate and suit the sunlight conditions of your chosen location. Popular choices include basil, mint, ginger, onion, rosemary, sage, garlic, thyme, chives, and many more.
7. Planting And Watering
Once you plant your herbs in the designated pockets, water them thoroughly to compact the roots. Or if you are planting seeds, they, too, need moisture for germination. Ensure that you keep the proper humidity by watering at regular intervals. If you aren’t sure about timings, you can install an alarm system for reminders. Happy gardening!
Pros And Cons Of Pallets For Herb Garden
When choosing any type of growing system, you need information. That includes the processes, pros and cons. We have elaborated on the methods. Let’s look at the pros and cons.
Pros
1. Pallets for herb garden offer space efficiency to utilize small spaces, more so in vertical real estate.
2. Pallets make great gardens perfect for balconies, patios, or small yards.
3. The setup offers aesthetic appeal. That includes a rustic and charming touch to any space.
4. You can customize pallets to produce your desired appearance. Some gardeners enhance pallets by painting or leaving them in their natural, weathered state.
5. It is easy and comfortable to access pallets when weeding or harvesting.
6. Easy weed control through landscaping fabrics.
7. Pallets for herb garden are mobile, meaning you can move them around to follow the sunlight or redecorate your outdoor space.
Cons
1. Pallet gardens dry out more quickly than traditional gardens, hence requiring frequent watering. You can outdo this challenge by adding a water-retaining polymer to the soil or installing a drip irrigation system.
2. Some herbs may not be compatible with pallets, especially those with invasive roots or growing tall. Also, water and sunlight requirements differ and may affect the herb growth. You can curb this by growing pallet-compatible small herbs or grouping herbs with similar needs together to ensure optimal development.
3. Depending on where you position your pallets, they may not be stable. Some fall off the balcony and cause injuries and losses. You can combat this issue by fastening your pallets with brackets and adding legs for structural support.
Conclusion
Congratulations on considering pallets for herb garden. As you can see, herbs only require a little space. With the pallet gardens and a little innovative and sustainable solution, you can enjoy organic herbs in your home. The creations have a functional and space-efficient herb garden, contributing to a greener and more eco-conscious world.
And with the above guide, you can unlock the secrets of cultivating a thriving herb haven in your backyard. Pallet gardens are not just about growing herbs; they are fun and refreshing. They can redecorate your living space and enhance sustainable beauty. Keep it up!